Inserting a table
Refer to the TABLE, TR, and TD tags
in the Reference area (Using the Reference tab) for a full description of this tag's properties and what it is used for.
To insert a table:
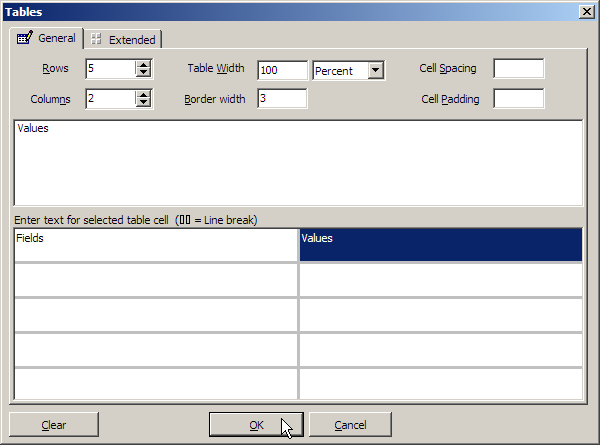
Click on the Insert > Tables... menu option.
Fill in the insertion form as per the Reference area help for this tag. Most fields are optional. As you fill in the fields the bottom half of the window displays the table. You can insert text into any cell by clicking on the cell and entering the text in the large space in the middle of the window.
For more functionality, click on the Extended tab. Enter values in the following fields, as required:
Table Caption - Select if you want the table to include a title caption. Enter the title caption in the field below the tick box.
Caption Align - Select the alignment for the table caption from the drop-down list.
Color - Select the background color for the table from the popup Colors window.
Background image - Select the background image for the table using the
 button.
Table border color - Select the border color for the table from the popup Colors window.
Use Light/dark table borders - Click on the Light Border box to set the lighter border color and the Dark Border box to set the darker border color
Click on the button.